Securing a Caddy endpoint with LLDAP
4 min read
For my small home network, I was looking around for a solution to synchronize user accounts across services. I host various services like a file server or smaller web applications that are accessed by my significant other and a couple of friends. In the past, I manually created accounts and passed on the password, which is slightly tedious. Another pain point is, that my web applications are unsecured at the moment. I would like to have an SSO login screen before being able to access a service. As a reverse proxy, I already deployed Caddy.
After researching I found out that for me and the services I am running, LDAP would be the best choice as it has the best compatibility and appears to be the industry standard for this kind of problem. Looking for a server proofed hard: most of them are rather heavy with lots of functions that I don’t need or are tedious to configure. Consequently, I searched for a lightweight server and found one: LLDAP is exactly what I was looking for. The project includes a lightweight LDAP server, which only supports a bare minimum of features (users, groups). Passwords can be reset by users in a small - admittedly ugly - web interface. Perfect for me. For locking down web applications there is caddy-security - an addon that allows interaction with LDAP before granting access to a site.
Setup
Since I installed a Caddy Docker image with caddy-security already integrated, I did not have to do anything else. For example, Alexander Henderson’s image comes with several useful modules preinstalled, that I require for other projects anyway. If that’s not an option, you can easily create your own Docker image including caddy-security.
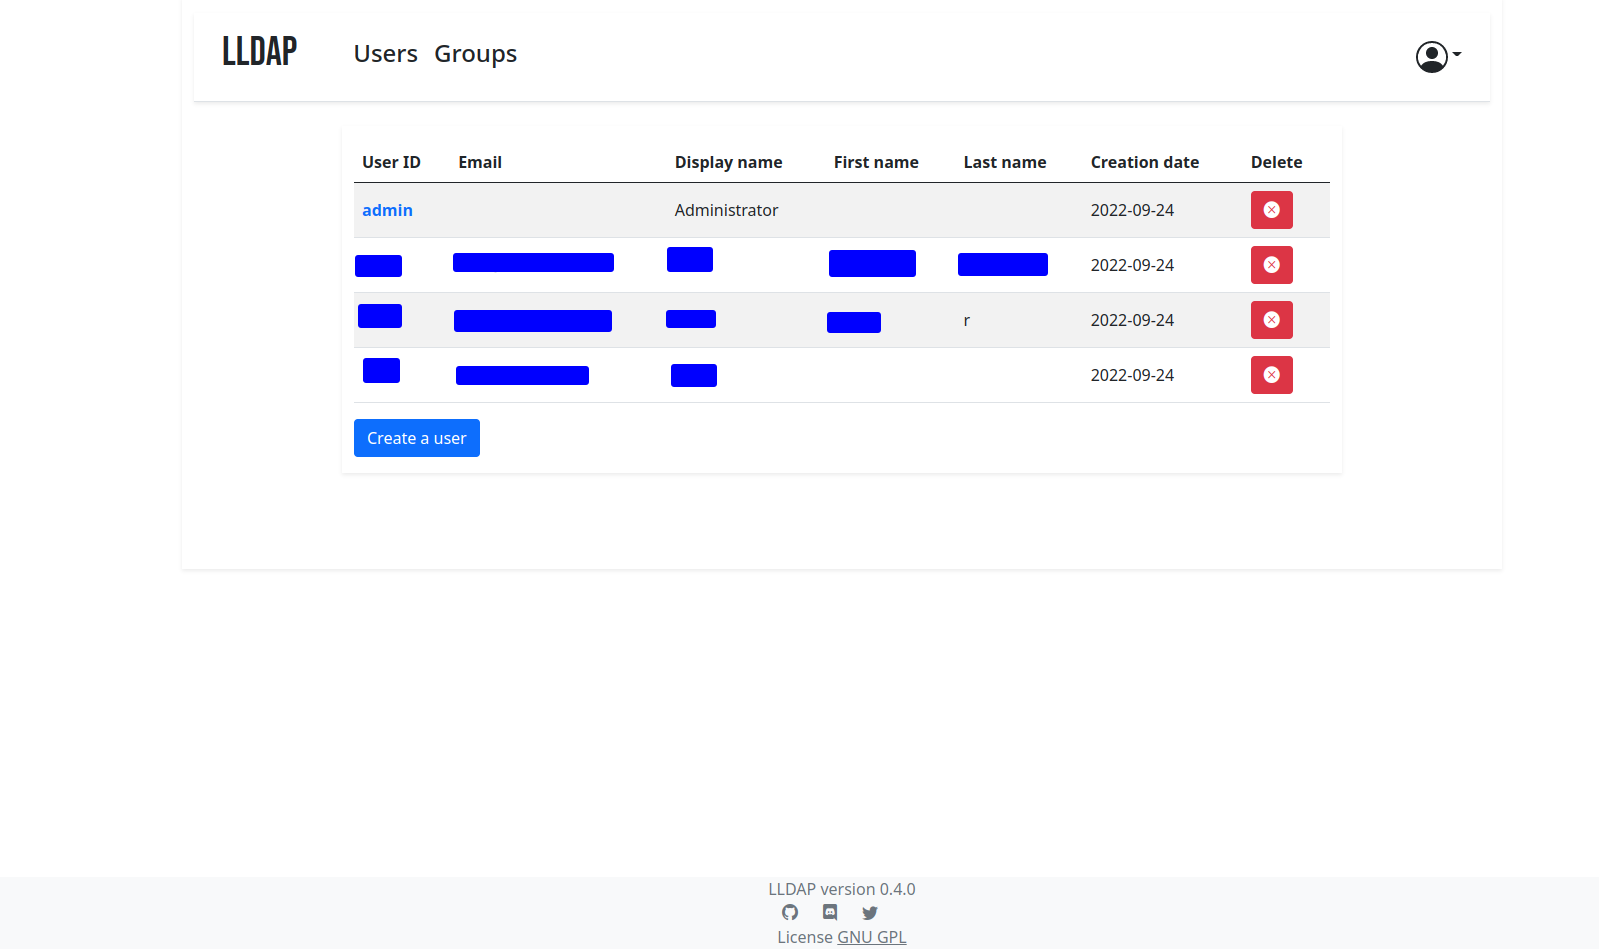
The installation is quickly done with Docker. I mounted a folder instead of the suggested volume. The initial password can be reset in the administration panel. I utilize a custom bridge for networking so that I can resolve my other services with DNS. After that, we can navigate to http://IP:17170 and are presented with the administration panel, where we can create users and groups.
Integration with Caddy
Assume we have a domain example.xyz. You can already create A or CNAME records for the
domains auth.example.xyz and example.xyz and point them at your Caddy server.
Now we need to prepare the authentication part in the global block of the Caddy file as
follows. In your Caddy docker-compose file make sure to add the two env vars for
LLDAP_ADMIN_PASSWORD and JWT_SHARED_KEY. The part with search_filter and group is crucial.
The search_filter is the query that is used to find your user object in the domain. Once
it is found, depending on the groups your user is in, groups get assigned within the Caddy
authentication procedure. In this example, a domain user that belongs to the group user
gets assigned the authp/user group.
The file is an adoption of the caddy-security documentation 1 to interact with LLDAP:
order authenticate before respond
order authorize before basicauth

security {
    ldap identity store example.xyz {
        realm example.xyz
        servers {
            ldap://lldap:3890
        }
        attributes {
            name displayName
            surename cn
            username uid
            member_of memberOf
            email mail
        }
        username "CN=admin,OU=people,DC=example,DC=xyz"
        password "{env.LLDAP_ADMIN_PASSWORD}"
        search_base_dn "DC=example,DC=xyz"
        search_filter "(&(uid=%s)(objectClass=person))"
        groups {
            "uid=user,ou=groups,dc=example,dc=xyz" authp/user
        }
    }

    authentication portal myportal {
        crypto default token lifetime 3600
        crypto key sign-verify {env.JWT_SHARED_KEY}
        enable identity store example.xyz
        cookie domain example.xyz
        ui {
            logo url "https://caddyserver.com/resources/images/caddy-circle-lock.svg"
            logo description "Caddy"
            links {
                "My Identity" "/whoami" icon "las la-user"
            }
        }
    }

    authorization policy mypolicy {
        # disable auth redirect
        set auth url https://auth.example.xyz

        crypto key verify {env.JWT_SHARED_KEY}
        allow roles authp/user
    }
}
Finally, we need to create endpoints for auth and whatever service we need to protect.
Make sure that the names myportal and mypolicy match with the previously declared
ones. Note: the import tls originated from my globally defined TLS setup and is not
relevant to this guide.
auth.example.xyz {
    route {
        authenticate with myportal
    }
}

example.xyz {
    root * /config/html
    authorize with mypolicy
    encode gzip
    file_server browse
    import tls
}
I strongly recommend consulting the documentation 1 2 for in-depth information.
Happy authenticating!